A product demo has one job: show a buyer what the software helps them do. If your new feature turns a spreadsheet into a report, show the report first. Then take the viewer back through the few clicks that made it. A long tour of the dashboard can wait for another video.
The right editor depends on what you already have. Choose invideo Editor if the first cut needs to bring together several recordings and remain editable. Descript is a better fit when the voiceover determines the edit. VEED and Clipchamp are useful when you still need to record the screen. CapCut can help with short launch clips, while Adobe Premiere fits teams with an existing desktop workflow.
What Should an AI Video Editor Do for a SaaS Demo?
Look for an editor that makes it easy to assemble screen recordings, keep narration in sync and change one scene when the app changes. A demo for a product page may need a longer walkthrough, while a launch teaser may show only the result and one key feature. Both should be easy to update from the same source material.
This list compares four ways to work: directing an editable first cut, editing through a transcript, finishing in a desktop editor and making vertical cuts from an approved sequence. Use the same screen recording in each tool if you want to judge how much work the second draft takes. The entries below describe documented workflows.
SaaS Demo Video Editors at a Glance
ToolBest forHow it worksVerdictinvideo EditorEditable first cuts from several takesDirect a first cut on a multitrack timelineBest fit for a demo that will go through product reviewDescriptNarrated demosEdit through the transcriptBest when spoken lines drive the cutCapCutShort launch clipsEdit and caption vertical versionsBest for social cuts from approved footageAdobe PremiereA desktop production teamBuild a master and use Auto ReframeBest when the master already lives in PremiereVEEDBrowser-based screen recording with quick captions and calloutsRecord the screen and edit in the browserBest for quick browser demosClipchampStraightforward screen recordings and captionsRecord a tab or window and add autocaptionsBest for a simple screen update1. Invideo Editor for Building an Editable First Cut
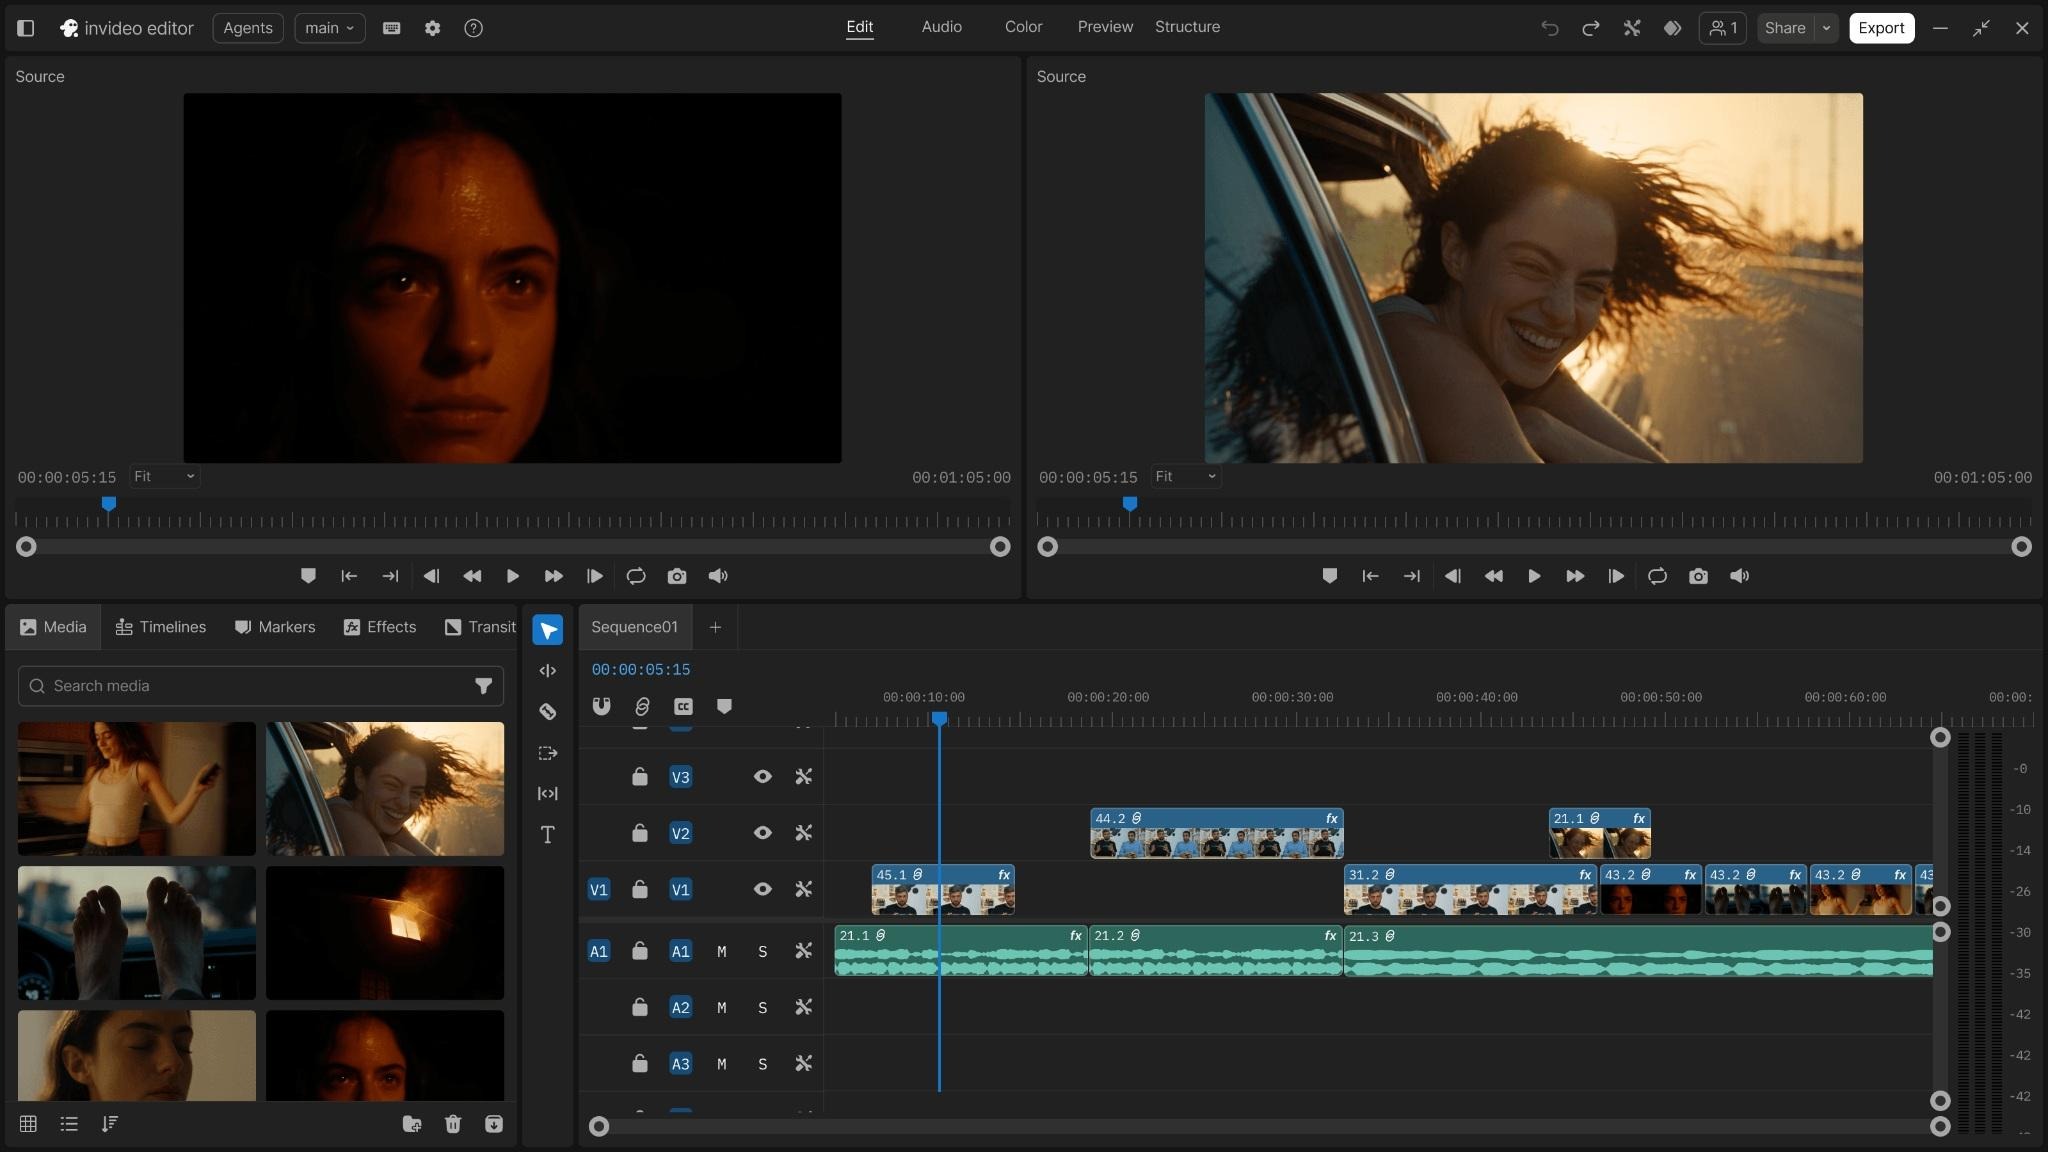
Media bins, preview panels and tracks in invideo Editor. Image credit: invideo.
Best for: Several takes and a first cut your team can revise.
If you recorded several takes of the same feature, start by telling the editor what the finished demo should show. A team launching a permissions feature might ask to open with the completed settings page, keep the part where the admin chooses a role and remove the earlier take with the wrong permission level.
In the invideo editor, the editing agent can review your footage, find moments from a description and build an edit on a multitrack timeline. Once the sequence is there, you can take over by hand. That matters when the draft reaches the right screen but cuts away before the viewer has read the role description. You can extend the shot and adjust the placement of its caption without rebuilding the full sequence.
Keep the product’s real screen recording as the source of truth. If you recorded a prototype and the name of a setting changed before release, replace that take with an updated recording. Check the export against the version customers will see. Use this route when a first cut can save time and your team wants to make the final calls about what stays on screen.
What to check: Have the product owner check which takes the agent selected, especially after a UI change.
Verdict: Best overall fit when you need help assembling a demo and want manual control of the final cut.
2. Descript for Editing a Narrated Walkthrough
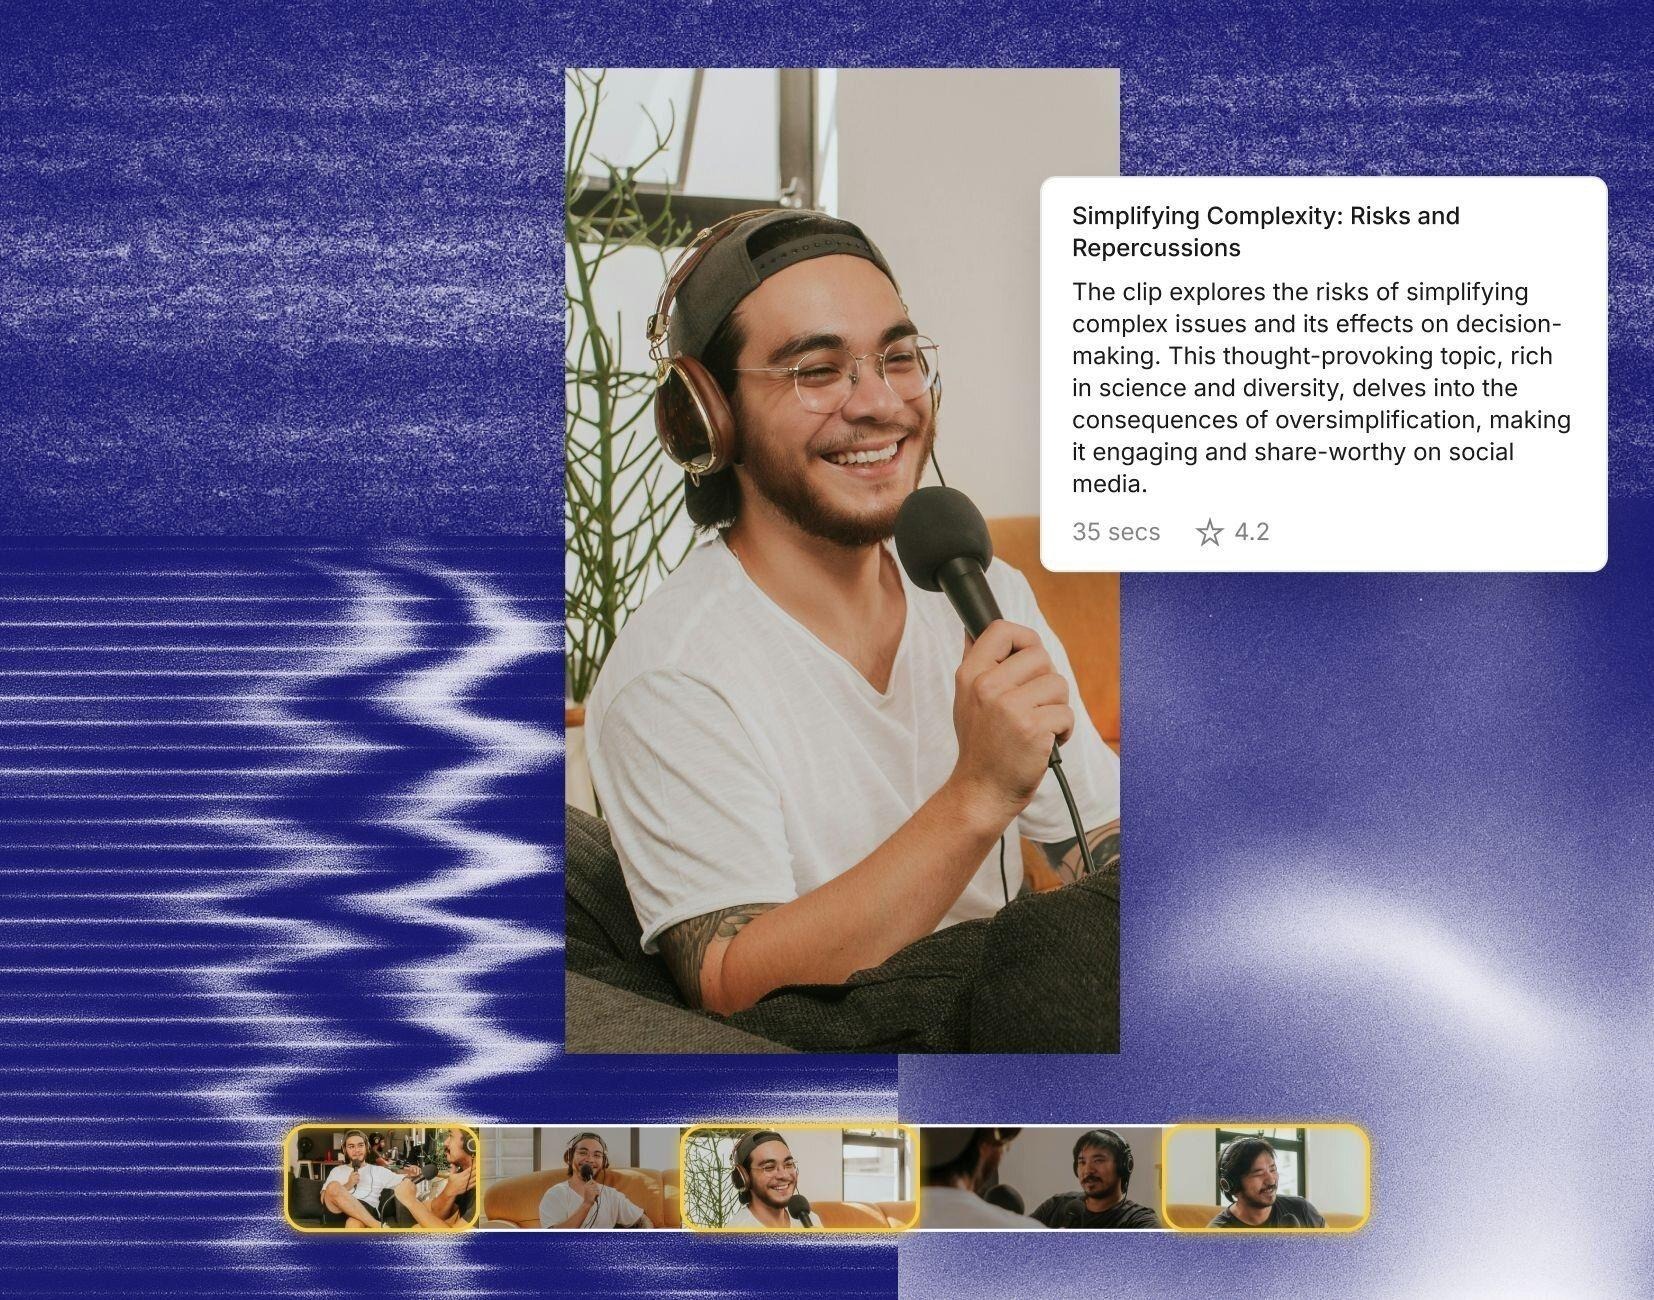
Descript product visual showing a video, transcript and clip strip. Image credit: Descript.
Best for: A narrated walkthrough or webinar excerpt.
Descript makes sense when the spoken explanation tells you where to cut. A founder may record two introductions, repeat a feature name halfway through and leave a long pause while changing windows. The transcript gives the editor another way to find those sections. Removing a line cuts the matching material in the video.
Review every cut where the screen action matters. You might remove a repeated sentence and also lose the moment when the presenter confirms a setting. Watch the picture after the transcript pass and restore the click or result if viewers need it. That extra check is especially important if the narrated take and the screen recording cover several separate tasks.
Use this approach when words drive the first edit. It can also help when reviewers remember a phrase and want to find the point in the recording where the presenter said it. Once the message is clear, review captions for names, buttons and unusual terms the transcription may miss.
What to check: Deleting words also changes the associated video, so review the matching screen action.
Verdict: Choose it when finding and fixing spoken lines takes more time than arranging visual layers.
3. CapCut for Short Launch Clips
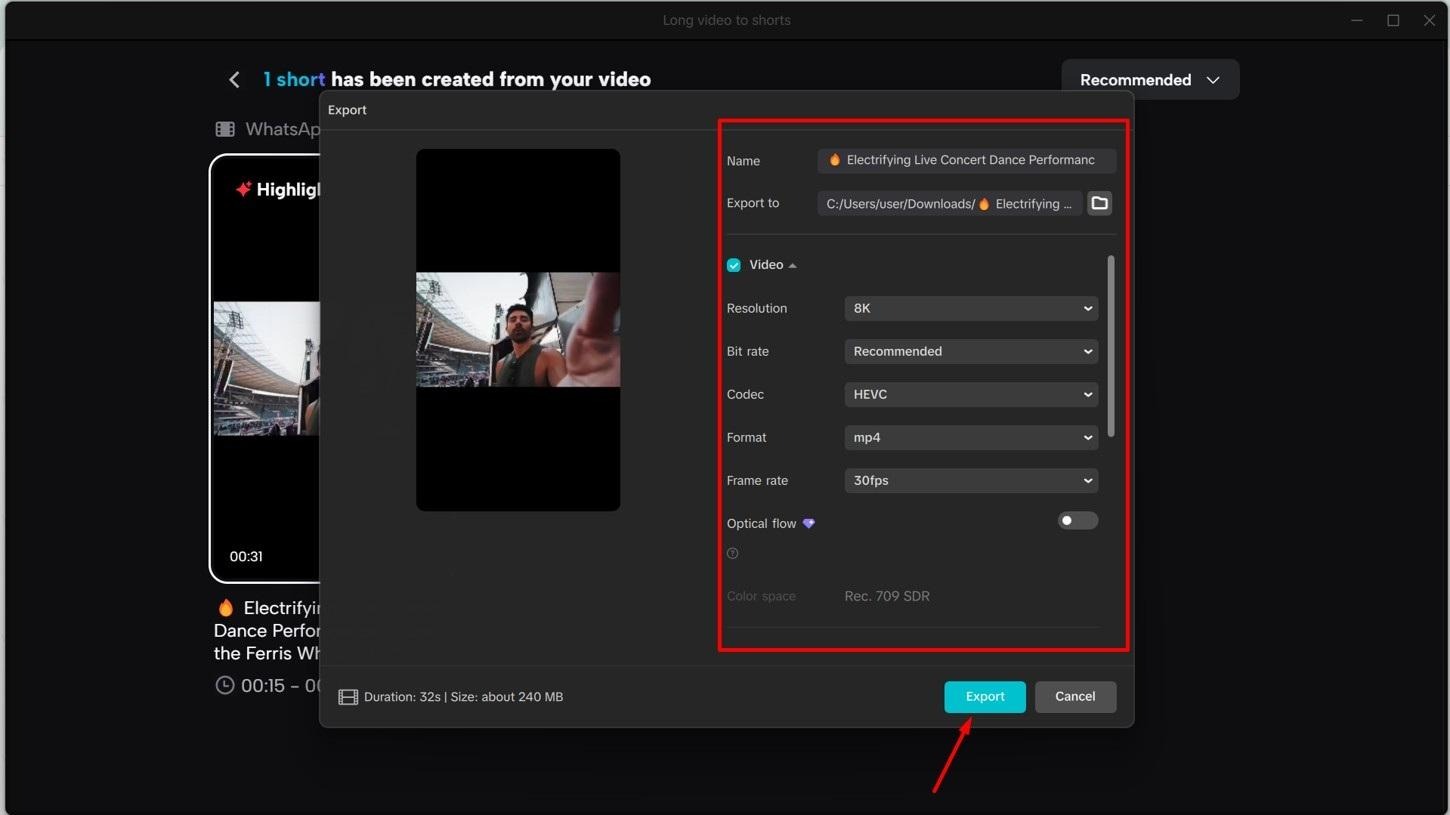
A vertical preview and export controls in CapCut. Image credit: CapCut.
Best for: Short launch clips from footage you have already recorded.
CapCut’s desktop editor gives you a timeline, automatic captions and tools for changing the aspect ratio. It fits a team that has chosen its footage and needs to make a short clip for a launch announcement. Build around one feature and leave enough time for a viewer to understand the benefit before the next cut.
The hardest part is often making the screen readable in a tall frame. A wide dashboard that looks clear on desktop can be too small on a phone. Frame the part of the interface viewers need to see and leave room for captions. Review the export on the device where people are likely to watch it. If an important label disappears outside the crop, move the frame or choose a tighter source recording.
Before you schedule several versions, test the exact export and caption style you plan to deliver. A simple title and one readable callout often do more for a product clip than a busy set of effects. This is a good fit if you expect to make local changes after the first pass and want to keep that work in your regular publishing workflow.
What to check: Check whether a tall crop cuts off menus or captions.
Verdict: Choose it for quick social versions of an approved product story.
4. Adobe Premiere for Reframing an Approved Demo
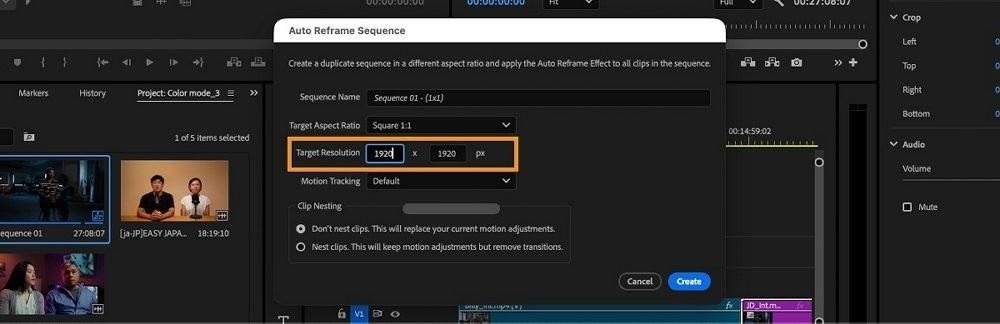
The Auto Reframe Sequence dialog in Adobe Premiere. Image credit: Adobe Help Center.
Best for: A wide master that already lives in a desktop editing project.
Adobe Premiere fits teams that already finish product videos in a desktop timeline. Once the wide master is approved, Auto Reframe can create a duplicate sequence in another aspect ratio. You can then review that version before exporting it for a different channel.
Screen recordings need careful review after reframing. A feature may start in the top menu and finish in a panel on the far right. If automatic tracking keeps the cursor centered but hides the new panel, adjust those shots manually. Graphics and captions may also need to move out of the way so the viewer can see what the presenter is describing.
This is a straightforward choice when the approved edit already lives in Premiere or when the launch needs detailed finishing in a desktop workflow. Assign a clear name to each derivative sequence and leave the approved wide master available for future changes. This makes it easier to see which file needs attention after a late change.
What to check: Auto Reframe still needs a review of menus, graphics and pointer movement.
Verdict: Choose it when you want to keep approval and finishing in the Premiere project.
5. VEED for Recording and Editing Browser Demos
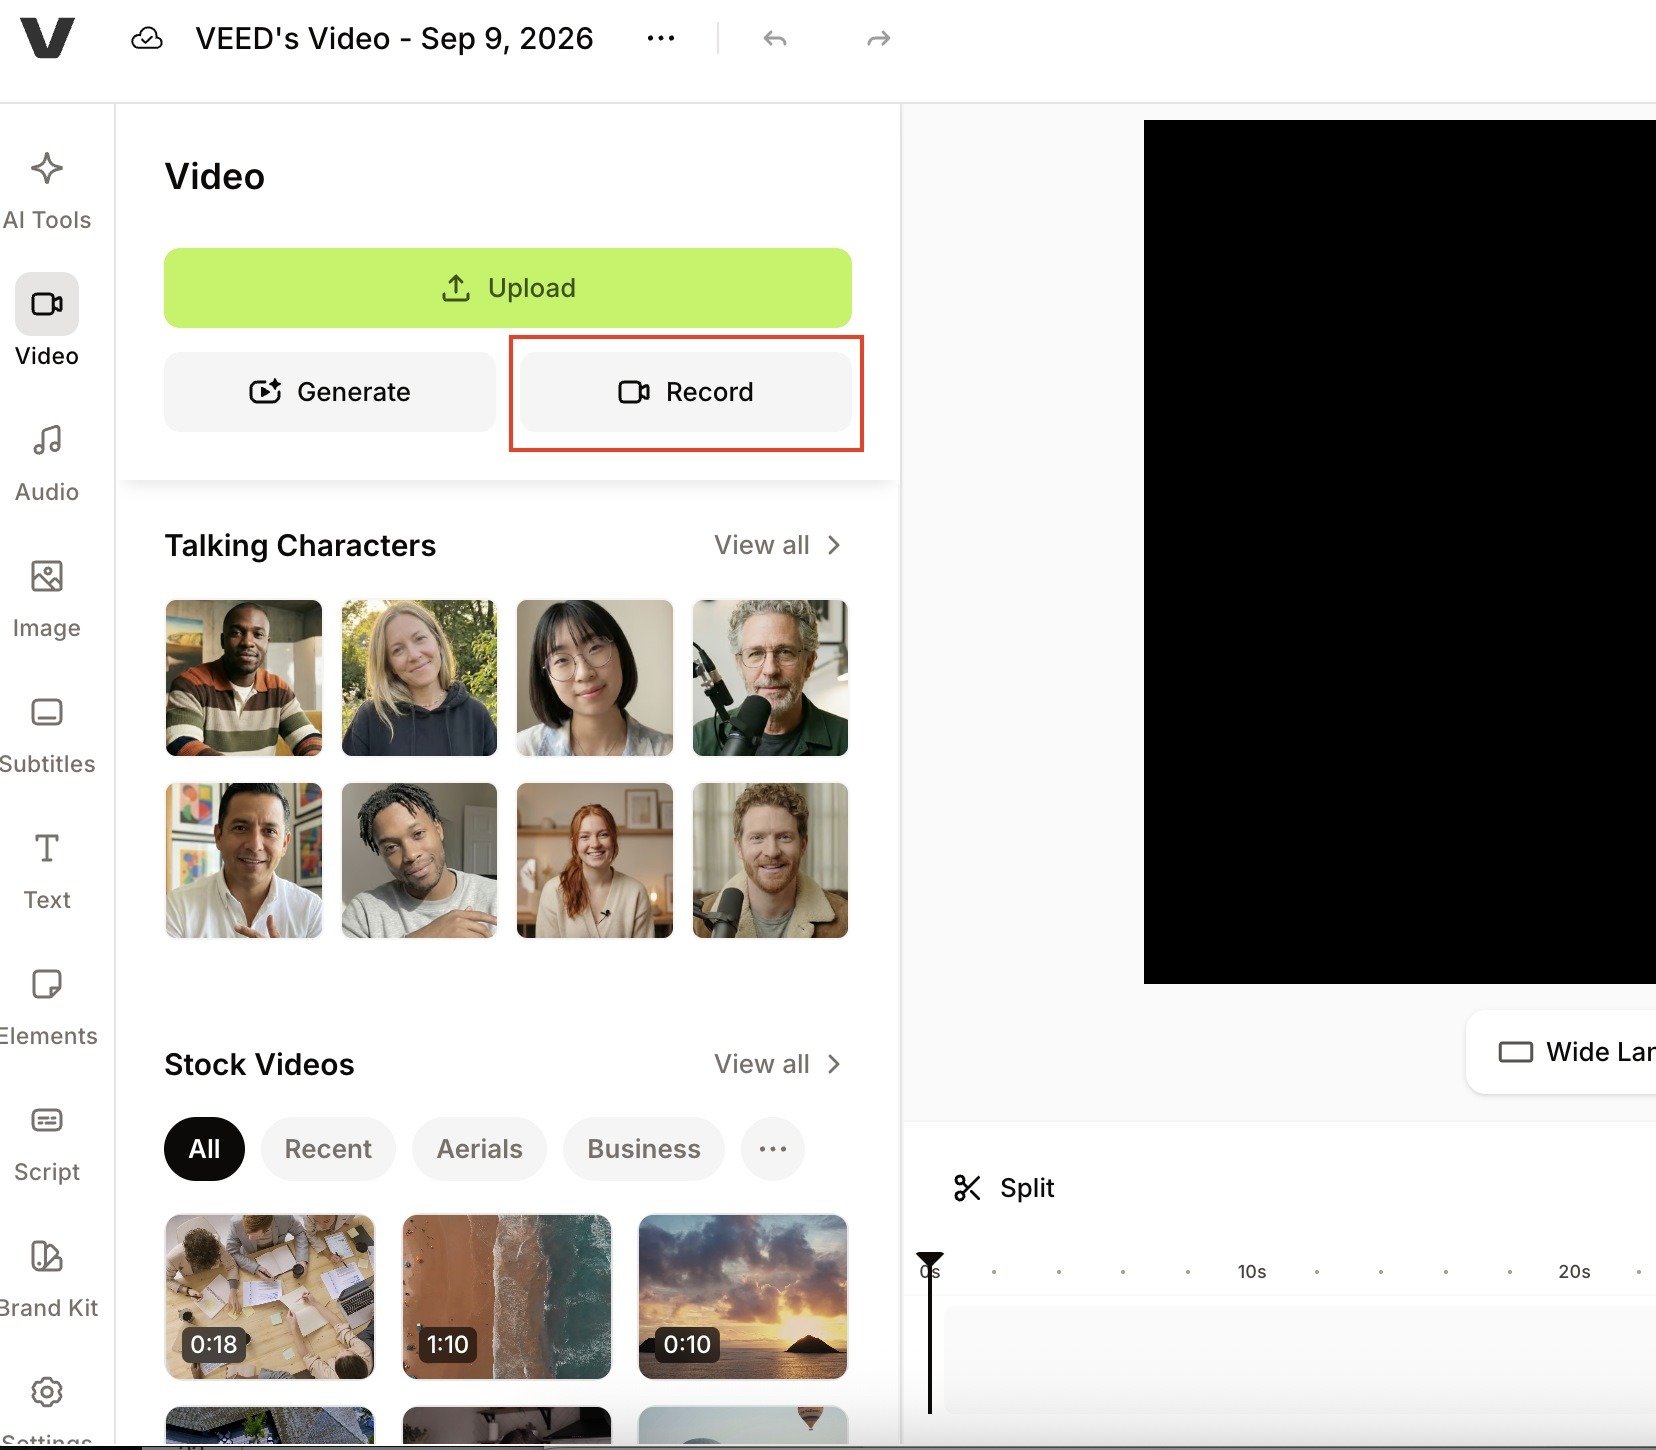
VEED’s editor with the Record control highlighted. Image credit: VEED Help Center.
Best for: Browser-based screen recording with quick captions and callouts.
VEED can record your screen, camera and audio and bring the result into its browser editor. A product manager can record one trip through the checkout flow, trim the opening and add subtitles or a label to the step where the discount appears. This keeps a basic walkthrough in one place.
Try a short recording first. Check whether you shared the right window and whether notifications or private data are visible. In the edit, correct the words the caption tool guessed, especially plan names, keyboard shortcuts and controls with short labels. If the process needs several recordings and a more involved approval cycle, test how easily a teammate can pick up the project and make the next change.
What to check: Review captions and the screen capture before export. Test a revision if other people will edit the draft.
Verdict: A good fit when the demo starts with a new recording and the edit needs only a few changes.
6. Microsoft Clipchamp for Simple Screen Walkthroughs
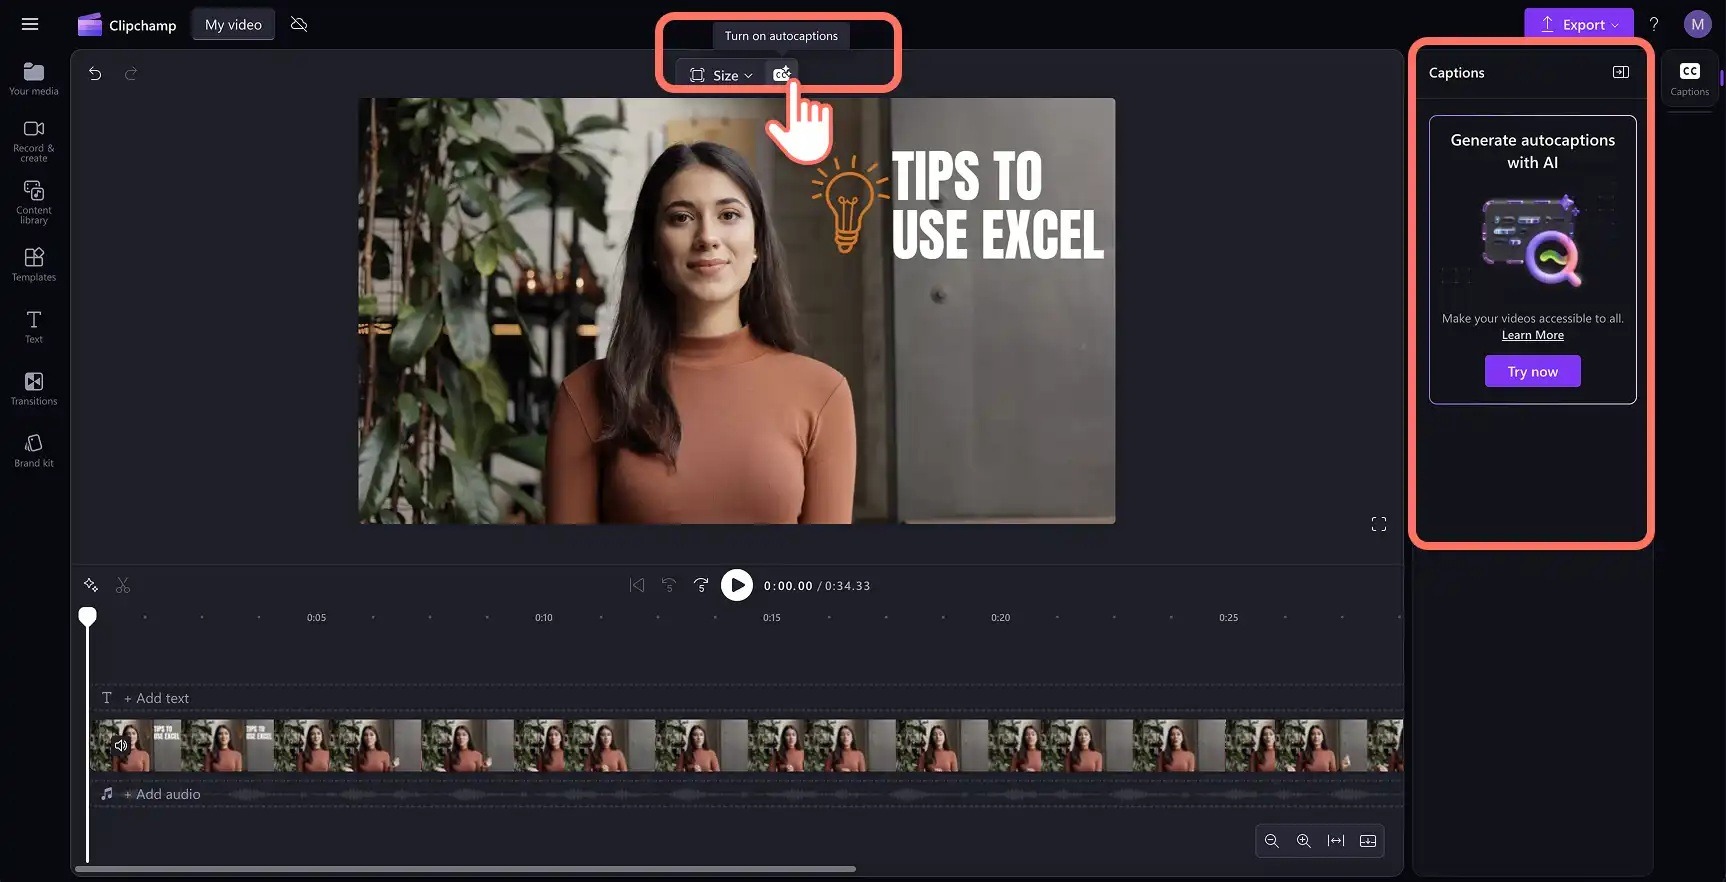
The caption controls beside the Clipchamp timeline. Image credit: Microsoft Clipchamp.
Best for: Straightforward screen recordings and captions.
Clipchamp’s screen recorder can capture a tab, a window or the full desktop. Its editor can generate captions from the recording. This works well when a customer success team needs to show where an option moved after a release. Record the affected screen, remove the setup time and check the captions against the new menu name.
Choose the smallest recording area that contains the full task. If an action opens a second window, confirm that the second window is included or record it separately. Clipchamp fits a short update with a clear start and end. Try a more involved edit on sample footage first if the demo relies on several source clips or a separate narration track.
What to check: Plan window changes before recording, and review caption wording against the interface.
Verdict: A practical option for simple product updates with one presenter or screen recording.
How Do You Edit a SaaS Demo for an App Launch?
Write down what the viewer should understand by the end, then record only the actions that lead to it. Open on the result, show the steps in order and finish with the next thing the viewer can do. MTOAG’s guide to app launch campaigns recommends planning how your demo video will be distributed across launch channels.
Say your product helps a sales manager build a report. Begin by showing the finished report, then show how to select a date range and choose the columns. If the export takes a moment, shorten the wait while leaving enough time to see that it completed. Leave the report on screen while the narration explains what the viewer should notice. A short launch cut can stop after the result, while the longer walkthrough can explain how to repeat the task.
Set aside a final review for the product owner. Ask them to check the buttons, order of operations and any claim about how the feature behaves. Then show the draft to someone less familiar with the product and ask them to describe what happened. If they cannot tell which button made the difference, hold that part of the screen longer or change the narration.
How Do You Prepare a Demo for Review?
Keep the first cut and the approval cut clearly named. If you send a reviewer several exports with similar names, it is easy for them to comment on a version with an outdated screen. Share the current draft with the step list and ask for feedback by timestamp. The product owner can confirm what the feature does while the launch lead checks whether the opening gives viewers a reason to keep watching.
Make one small change to the approved draft before you create the other versions. A new button label is a useful test. Replace the relevant recording, replay the narration at that point and check whether any captions or chapter times need updates. This is also a good moment to decide whether the teaser needs the same shot. A shorter version can stay accurate without repeating every action that appears in the full walkthrough.
Key Takeaways
- Start with a single workflow and show its outcome early.
- Compare editors on the same footage and request a second draft before you choose.
- Keep the screen readable on a phone and verify captions against the product’s real labels.
- Save an editable master so later product changes can be fixed scene by scene.
Frequently Asked Questions
How long should an app demo be?
Make it long enough to show the value and the steps viewers need. A release teaser may only need the outcome and one action. A walkthrough should allow time for the audience to find the same controls in the app.
Can I edit one recording for several channels?
Yes. Keep a wide master and make a separate cut for vertical channels. Check that captions, tooltips and essential screen areas are visible in every version.
Should I record narration before editing?
Either order can work. Recording narration with the walkthrough helps explain why you clicked each control. Recording it afterward makes it easier to match the script to a clean screen take. Try one complete action with both approaches before recording the full demo.
Conclusion
If your launch has a set of screen recordings and several takes, start with invideo Editor and see how well the editable first cut follows your brief. If most revisions involve narration, try the same recording in Descript. When the job still starts with a screen capture, VEED or Clipchamp can keep recording and editing together. CapCut makes sense for short social cuts, and Premiere is a good fit when the approved master already lives there.
Use a real feature to make the final decision. Ask someone to update one shot after the first review. The editor should be able to make that change without losing the captions, screen context or version the team already approved. That is the workflow you will need again after the next release.