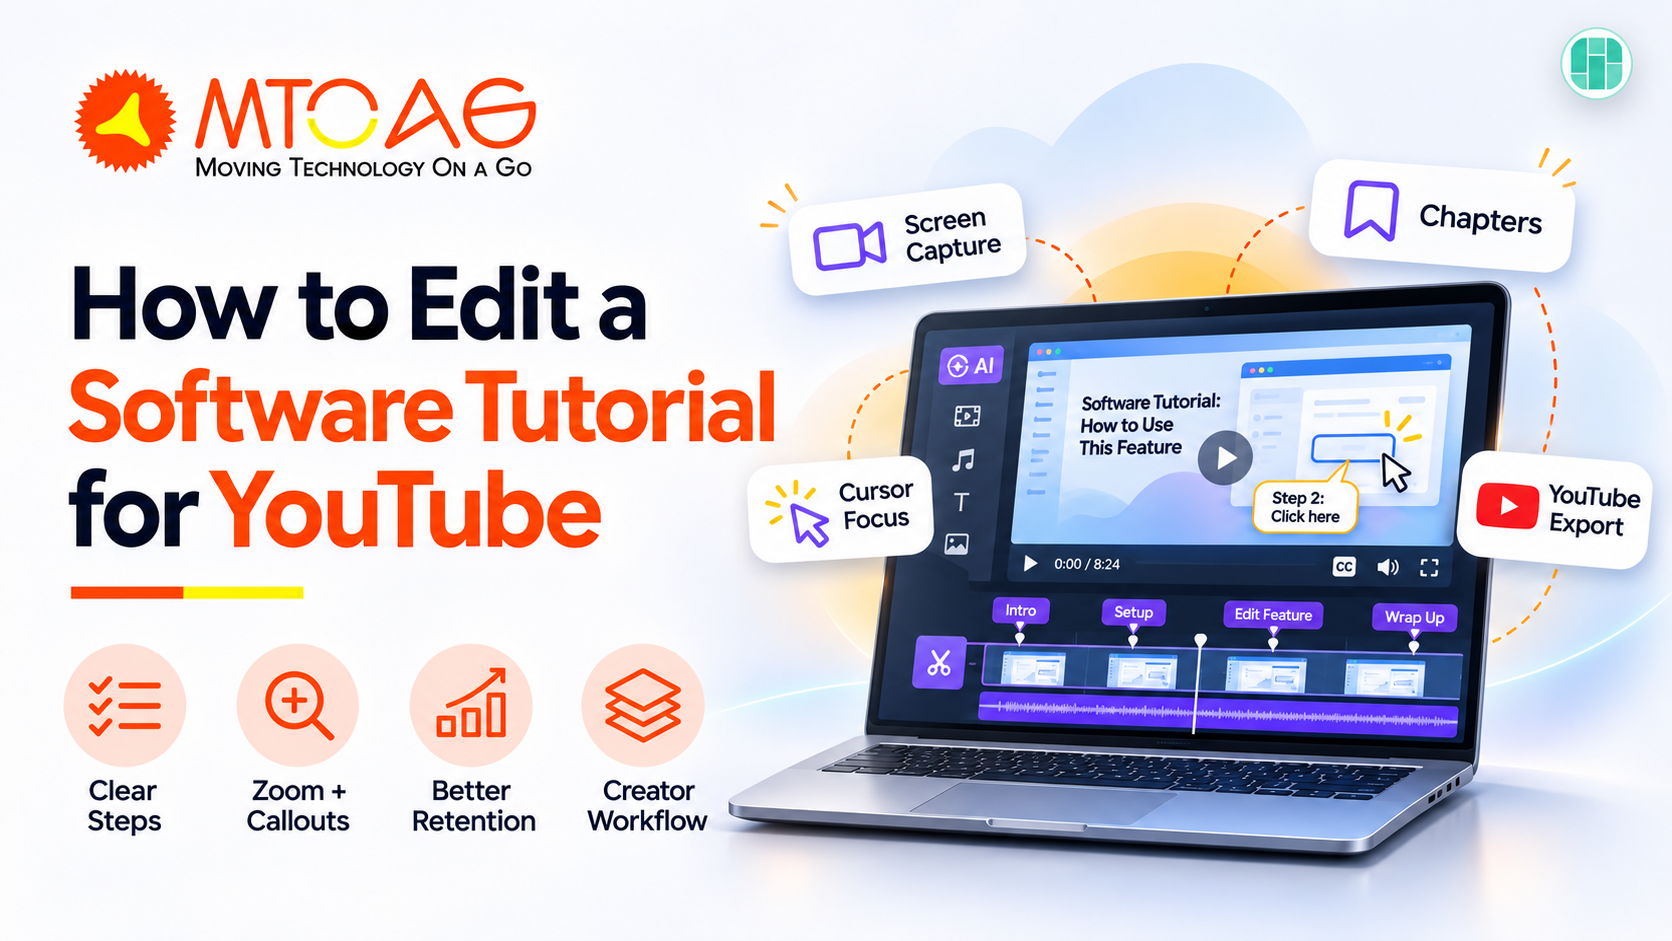
A viewer opens your tutorial, tries the first step and gets stuck. The cursor moved before the narration named the button. The cut skipped the confirmation message. Those are small edits for the person who recorded the video, but they can stop someone who is seeing the app for the first time.
Edit for the person following along on a second screen. Show the result early, keep the actions that lead to it and cut the time people would spend watching you wait or repeat a take. Use the same test at the end: can someone complete the task without you explaining it from beside them?
What Makes a Software Tutorial Easy to Follow?
A viewer should be able to see which screen they are on, which action to take and what should happen next. Give them time to read important labels. Keep the narration close to the action it describes, and use captions, small callouts or chapters where they help the viewer find the next step.
Imagine you are making a video about exporting a sales report. The task begins in a report view and ends with a downloaded file. The audience needs to see how to choose the period, open the export menu, select a format and check that the file downloaded. Those steps belong in the video even if the screen capture also includes logging in, opening unrelated tabs or waiting for the report to refresh.
Step 1. Plan the Tutorial Around One Result
Write the result in a sentence you can read aloud at the start. “By the end of this video, you’ll have a CSV file with sales from the last 30 days” gives the audience a clear reason to watch. Show that file or the moment it downloads, then go back to the screen where the viewer needs to begin.
Choose a starting point based on what your audience is likely to know. If they already have an account, you can open inside the app. If the feature depends on a user role or setting, mention that before someone attempts the first click. Avoid showing customer names, internal URLs or personal details in the recording. A demo account with simple test data makes the interface easier to read.
MTOAG’s guide to app launch campaigns includes demo videos as a way to show users what an app can do. Give each tutorial a clear job within that work. A tutorial that solves one common problem is easier to title, chapter and update than a video that tries to show every feature in a release.
Step 2. Put the Screen Recording Into a Rough Cut
Import the screen recordings, voiceover and any other footage you need. Put the main screen action on the timeline first. Add the narration where it explains the screen and keep any optional presenter shots separate. Label clips by the step they show if you captured the same action more than once.
A browser-based YouTube video editor can help turn the source footage into a first cut. In invideo Editor, you can upload the recordings and explain what to keep or remove. An editing agent can select takes and build an editable sequence. You can then trim the clips, adjust audio and add captions on the timeline.
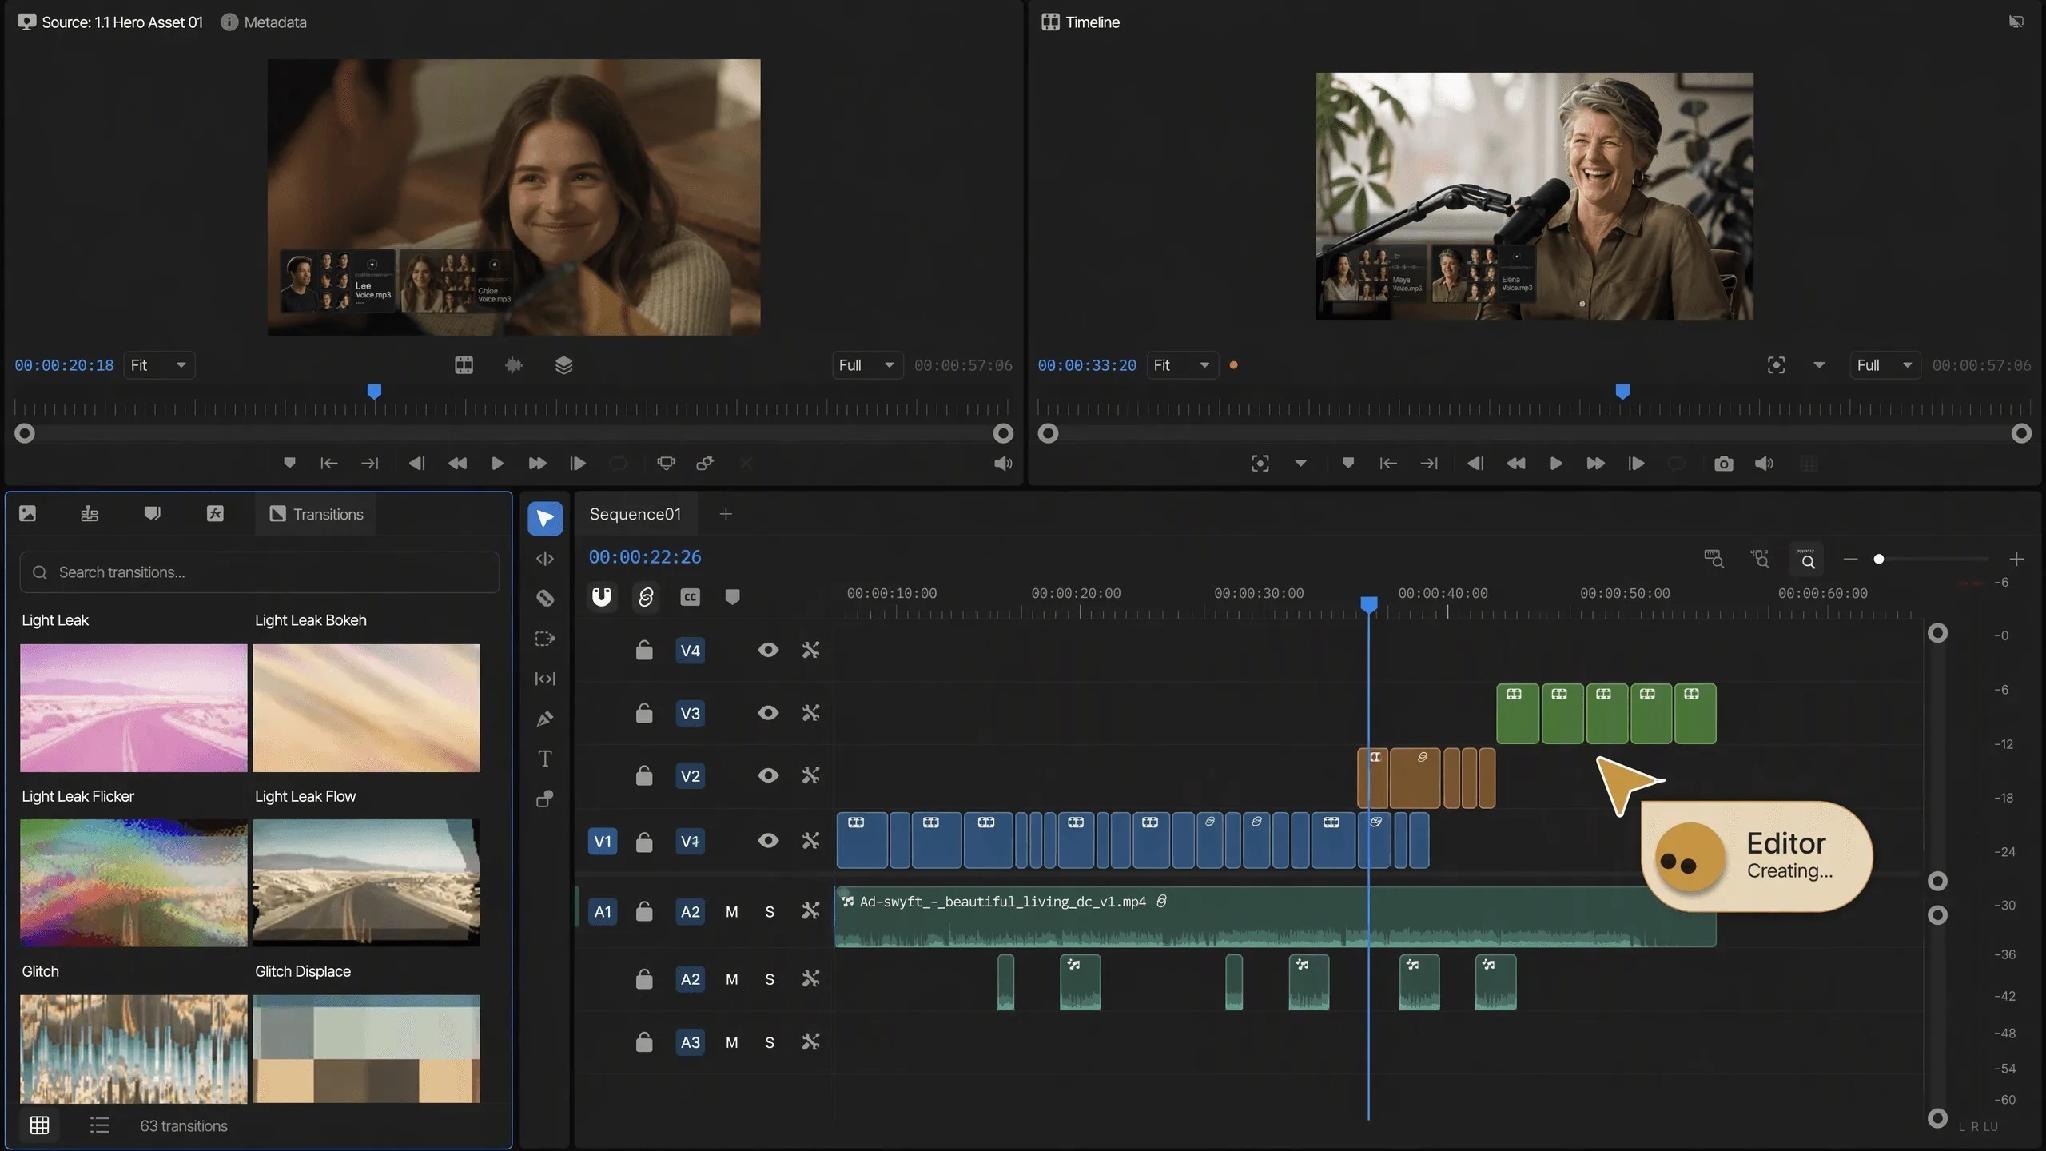
The media panel, preview and multitrack timeline in invideo Editor. Image credit: invideo.
Give the agent instructions the viewer could check. Ask it to keep the click that opens Export, the choice of CSV and the file confirmation. Ask it to cut the repeated introduction and shorten the wait while the file downloads. Review that draft against your step list. If the confirmation is missing, restore the shot before refining the pacing. Keep a clean copy of the original recording so you can recover an action if you cut too much.
Step 3. Cut Delays and Keep the Actions Viewers Need
Trim repeated lines, long waits and mistakes that do not help the viewer. Leave enough time for a person to find the menu, read an option and see the result of clicking it. A useful edit is quick through the quiet moments and patient where someone needs to follow the screen.
Keep both sides of an important action. When a viewer chooses “Export CSV,” they need to see the button and what happens after clicking it. If the export takes a long time, you can cut the middle of the wait. Leave a moment that shows the process started and another that confirms it finished. A short note such as “Download complete” can help when the interface gives very little feedback.
Watch the rough cut at normal speed. Pausing to view a label while editing can give you a false sense of how clear it is. Try following the same task in a separate browser window. If you have to stop the video on nearly every step, hold key shots longer or break a busy instruction into two parts.
Step 4. Highlight the Menu or Button That Matters
Use a close crop, a small pointer or a short label when a control is hard to see. If the viewer needs the whole page to find the control, show the full screen before you zoom in. Return to the wide view when the task moves to another panel so the viewer can see where they are.
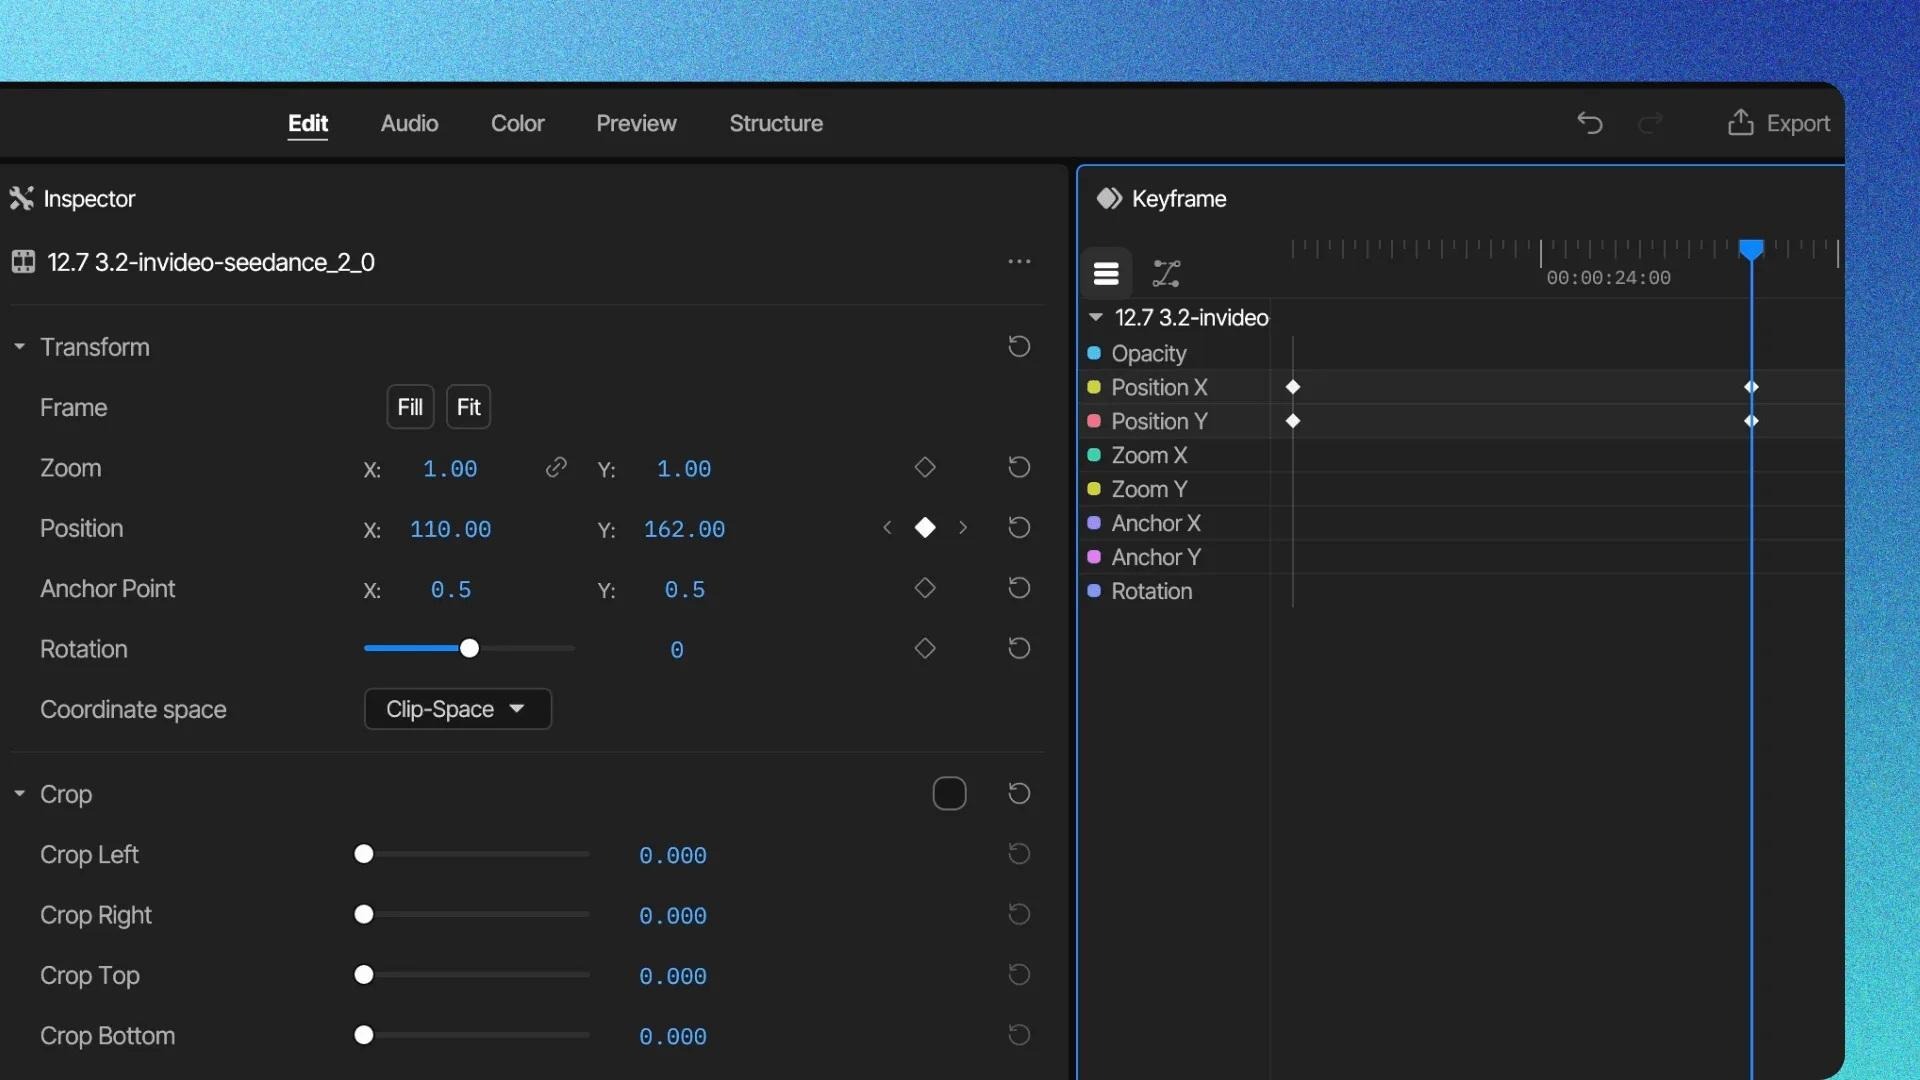
Keyframe controls for changing settings such as scale and position. Image credit: invideo.
In invideo Editor, keyframes let you change the zoom and position of a clip along the timeline. You can start wide, move in on the export menu and hold that view until the format is selected. Keep the menu label visible and check that the crop still includes the confirmation or nearby control the narration mentions.
Place text where it leaves the interface readable. “Choose CSV” is easier to follow than a full sentence across the menu. Keep the position and style consistent so viewers quickly recognize your callouts. Leave a callout on screen long enough to read it, then remove it before the next action needs attention.
Step 5. Check Narration and Captions Against the Screen
A clear voice should tell viewers what to look at and why the step matters. Name the menu before the pointer reaches it. If a setting affects the result, say what to choose and what they will see afterward. Cut repeated explanations once the action is clear.
Lower the background music or leave it out where the instructions need full attention. Listen across any point where you joined two takes. If the second recording sounds louder or farther away, adjust it so the change does not draw attention from the task. Play one section from a laptop speaker and another through headphones.
Before uploading, correct product names, acronyms and button labels in the captions. A readable caption can still be wrong if it shows “CVS” instead of “CSV.” Check timing too. If the label appears after the menu closes, move it closer to the action. YouTube’s guide to captions and subtitles explains how to add or upload captions in YouTube Studio.
Step 6. Add Chapters and Check the Final Upload
Chapters work best when their names match the tasks viewers came to learn. Use names such as “Choose the date range” or “Export the CSV.” Write down the chapter times after the edit is final so a late cut does not put the viewer in the wrong place.
For manual chapters, YouTube’s chapter requirements say the list in the description starts at 00:00, includes at least three timestamps in ascending order and gives each chapter at least ten seconds. Make sure each timestamp lands where its step begins. If two actions belong together and only take a moment, give them one chapter with a useful name.
Preview the finished upload on a phone and on a larger screen. Check the first minute, every chapter start and the final result. Confirm that the controls and captions stay readable. Keep the editable project and the source recordings together so you can replace a step if the interface changes.
Ask someone who has never tried the feature to follow the final video once without your help. Note where they pause or rewind. That gives you a concrete list of places to add a short label, hold the screen longer or replace an unclear take before you publish.
A Final Check for a Tutorial Viewers Can Follow
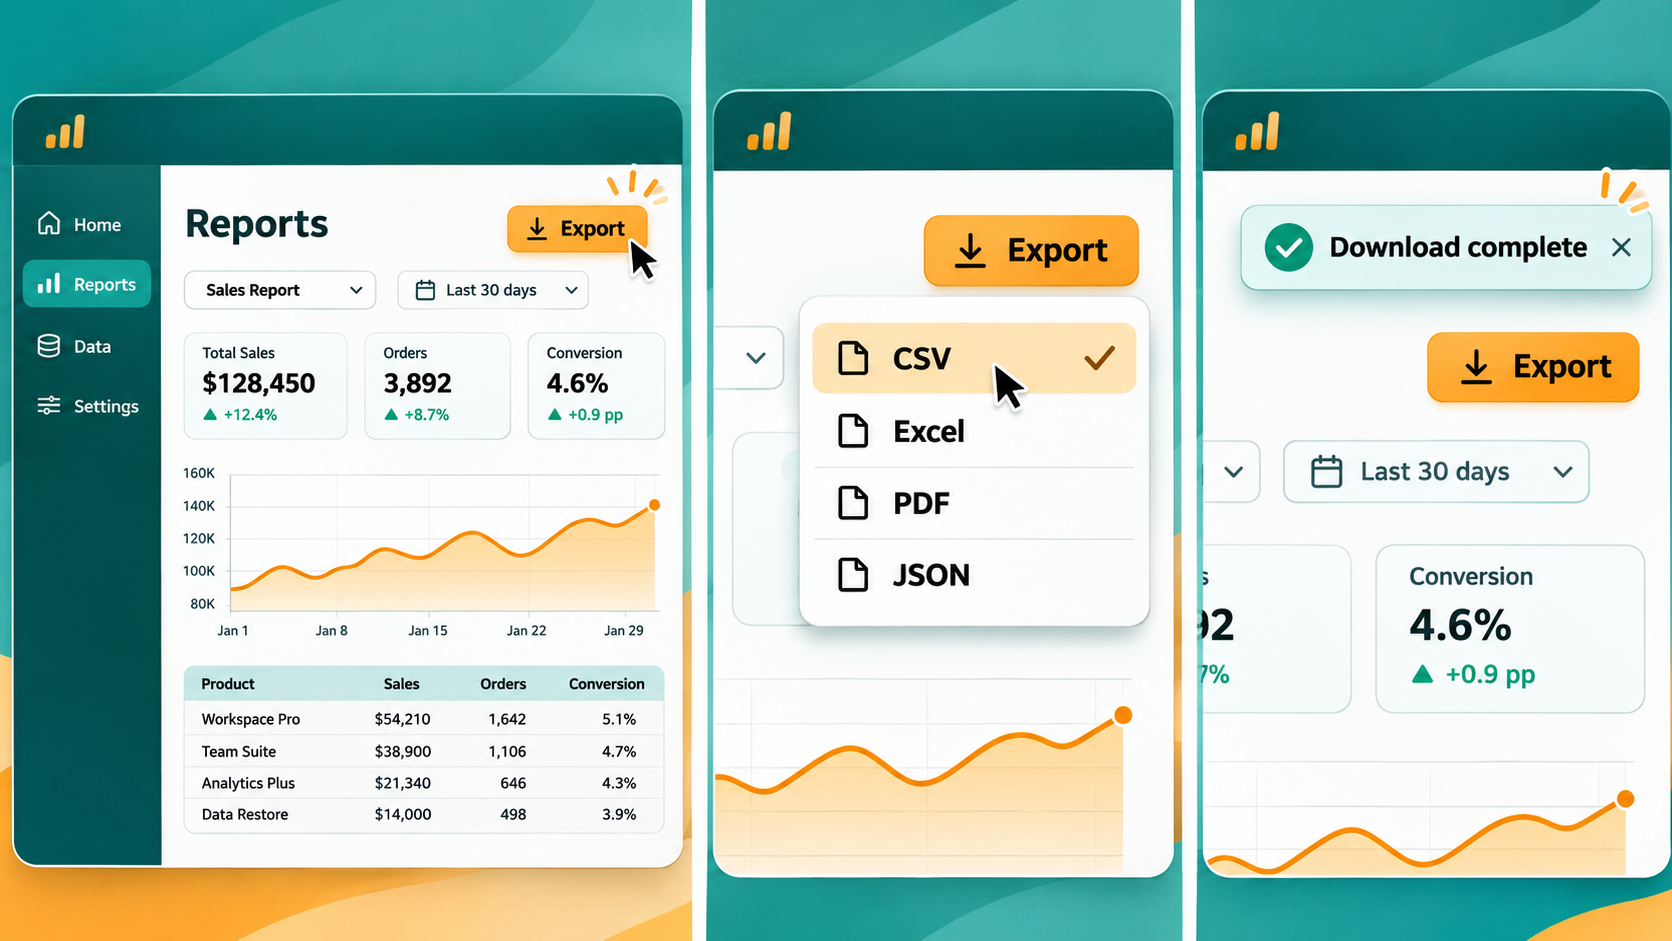
Illustration of three frames to keep in the edit: the Export button, the CSV selection and the download confirmation. The software interface is illustrative.
Watch once with the sound off. The labels and pointer should make the task understandable. Then listen without looking at the screen. If the narration depends on phrases like ‘click here’ or ‘choose this one,’ name the control instead. Make those fixes before you check the final upload.
For the report example, use three visible cues. Show the full report page and point to Export. Hold the format menu long enough for viewers to read CSV. Then show the download confirmation. Cut the waiting time between those cues while keeping enough of the transition to show that the click worked.
Key Takeaways
- Show the result early and build the edit around one task.
- Keep each important click and the on-screen change it causes.
- Zoom in while giving viewers enough context to find the same control.
- Check captions, audio and chapter timestamps after the final cut.
Frequently Asked Questions
How much of the original screen recording should I keep?
Keep the parts that help someone finish the task. Cut loading time, repeated explanations and unrelated screens. Preserve the start and result of an action if they help explain what changed.
Should I record one long take or several short takes?
Short takes can be easier to replace when a feature changes. A longer take can help when the task needs to flow in one go. Record a clean version of each important action so you have a backup at the edit.
Are captions and chapters both necessary?
Captions help people follow the words. Chapters help them find the step they need. Include both when the tutorial has spoken instructions and distinct stages.
Conclusion
Watch the final tutorial with the software open beside it. Start where the recording starts and make the same clicks the viewer will make. If you cannot see a label or have to rewind a step, change the cut. Hold on a button a little longer, show the page before zooming in or add a short instruction beside the control.
Once the picture and narration agree, check captions and chapter times on the final export. Ask a new viewer to try the tutorial on a smaller screen. Keep your source recordings and editable project together so you can replace one step when the app changes. A tutorial is ready when the viewer can finish the task with the video alone.