
2500+
Successful Projects

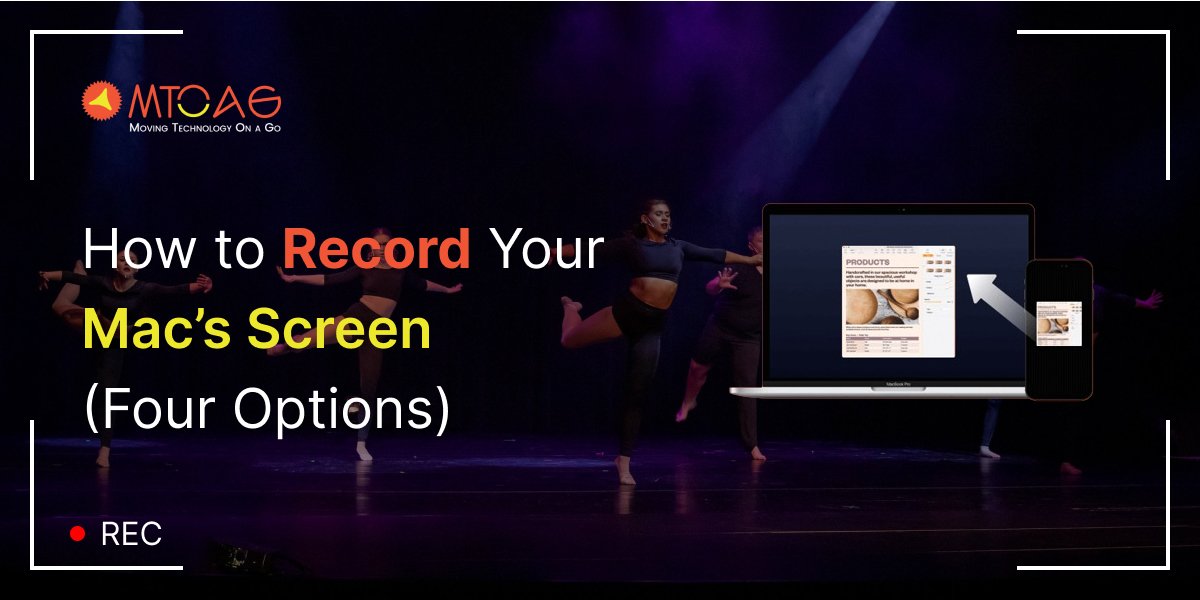
Have you ever struggled to explain something on your Mac and thought, “I wish I could just show it”? Screen recording makes that easy. Be it sharing a tutorial, saving a meeting, or showing a bug to tech support, recording your screen can save time and make things clearer. But is it possible to record screen on Mac?
The good news is yes, and you don’t even need any fancy tools to do so. Your Mac already has built-in features that most people don’t use. And if you want extra options, there are some simple apps that give you more control.
Anyway, we have found four simple tricks to record the screen on a Mac. You will learn how to use what’s already on your Mac and what to try if you need more features.
Table of Contents
Want to record your Mac screen quickly and easily? Here are four of the best ways to do so. Some are already available on your Mac, while others are third-party tools that offer extra features like editing and audio controls. Each option is simple, reliable, and perfect for capturing high-quality screen recordings without any confusion.
Apple's built-in screen recording tools for Mac, the Screenshot Toolbar, provide simple solutions for basic recording requirements. These built-in tools are intended to simplify tasks, whether you're filming a webinar or taking screenshots of a software fault. But does that imply they're the ideal tools for every task?
In this part, we will review the advantages and disadvantages of using Apple's built-in tools to record your Mac screen.
Although using a Screenshot to capture your screen is rather easy, making it seem professional is a little more complicated. Unwanted or unnecessary tabs, awkward pauses, and clumsy starts and ends may all take away from your finished movie.
While many tools are available for editing screen recordings, starting with a high-quality recording is best. Here are a few easy steps from the Screenshot toolbar to ensure a seamless recording process.
From the "Options" tab, choose "Remember last selection." Remembering the recording settings you previously selected makes the recording process more accessible. 
Ensure your recording isn't lost in a sea of blank files! Label your folders and titles appropriately to keep your recordings neatly arranged. You may also choose where your screenshots and video files will be kept to keep you organized.
Set a timer to begin counting down so you can prepare before screen recordings start. This saves you from having to navigate awkwardly or fumble to find the correct location after pressing the record button.
From the "Options" tab of the screenshot toolbar, choose "Show floating toolbar." A little floating thumbnail will show up in the corner of your screen when your recording is complete. Click on the thumbnail to quickly rename, change, or remove your snapshot and ensure it is stored in the correct location.
To have a black ring around your cursor each time you click on anything, choose the "Show mouse clicks" option under the "Options" tab. This indicates the precise moment and location of your click.
Not only can QuickTime Player be used to view movies, but it's also a dependable tool for screen recording, especially if your instructional or presentation has to include audio. QuickTime, which comes preinstalled on all Macs, provides a practical method of recording both the screen and audio.
If your Mac runs an OS older than Mojave, this is also the easiest way to record your screen using the built-in capabilities.
To begin, click on QuickTime Player. In the Menu Bar, go to File and choose New Screen Recording.
An arrow appears next to the Record button. To choose your audio input source, click it. Press the Record button to begin recording after that is configured.
Click anywhere on the screen to record the whole thing. Click Start Recording after defining the area with your cursor if you want to record a portion.
You may end your recording by pressing the Command, Control, and Escape keys simultaneously or clicking the Menu Bar's Stop button.
The Screenshot Toolbar and QuickTime Player are almost identical, except for QuickTime's compatibility with earlier macOS versions. However, it's also more essential due to its compatibility with earlier operating systems. When you need to re-record your screen, it won't remember your choices since, for instance, there isn't a delay timer when you start the recording.
Snagit is a noteworthy choice among specialized screen recorders for users who want more functionality than Mac's built-in tools but do not require a comprehensive set of sophisticated editing options. It's ideal for producing polished-looking screen recordings that are understandable, educational, and casual.
Snagit integrates the most basic editing skills, such as basic trimming and cutting capabilities, with the simplicity of screen capturing. This makes it perfect for brief walkthroughs or lessons when clarity and speed are essential but extensive editing is unnecessary.
Launch Snagit and go to the Capture Window's video tab. Verify that the Selection Drop-down option has Region Selected.
Press the prominent red "Capture" symbol next. This will cause Snagit's crosshairs to show up on your screen, allowing you to choose the area of the screen to record.
The selection will immediately snap to the window you have open. Click anywhere on the screen and drag the crosshairs to manually choose a zone.
Snagit allows you to capture both your screen and microphone, allowing you to add even more quality to your films. Determining your audio settings is the next step after choosing the recording area on your screen.
Just choose the Record Microphone option if you want to record a voiceover to add a personalized touch. By doing this, you may record your voice in addition to the screen, adding interactivity and interest to your instructional or presentation.
Make sure you pick Record System Audio if you also wish to record noises from your computer, such as alerts.
Snagit's Screen Draw tool, which lets you comment and animate right on your screen while recording, can improve your screen recordings even more. This tool is ideal for emphasizing sections or providing step-by-step instructions, which can increase the readability and engagement of your material.
Make sure the Screen Draw option is enabled before using the Screen Draw function. After that, choose your preferred tool from the Draw Toolbar and use the mouse to click and drag to create shapes or arrows when you begin recording. Before starting your recording, you may choose the length of these remarks in the options. They will disappear after a short while.
When you're ready, Snagit will count down to three seconds before starting to record when you click the red Record button. Anything that shows up in the allocated recording region after that will be recorded.
To turn webcam recording on or off, click the icon in the Recording toolbar. This will allow your viewers to see your face while you're recording.
Click the square Stop button to end the recording. Snagit will then open the recording in the Snagit Editor, allowing you to edit and share the video.
Your video will appear in the Snagit Editor after you're finished recording, ready for sharing, editing, and evaluation. Your video will be available immediately, so you won't need to wait for your film to render either.
Use the playhead to choose any errors or portions you want to erase, then select it by clicking the cut button.
Snagit's ease of use and effectiveness are ideal for Mac users who want to record their screen, particularly when they require a clean, fast output without a high learning curve.
After your movie, click Share and choose the most convenient location. Our recommendation if you need help deciding what to pick is TechSmith's Screencast.
With Screencast, you may copy and paste a shared link into an email, Slack chat, or other messaging app. Not only is it free, but the receipt of your video doesn't need to have Snagit in order to see it!
You don't need to provide your credit card information to begin using the free trial that can be downloaded here.
Canstasia, a well-known one-stop shop for screen recording and video editing software, can handle the intricacy and quality required for more sophisticated tasks. Camtasia should be at the top of your list if your project requires professionally edited screen recordings on Mac that are of excellent quality.
While primary screen captures work nicely for straightforward jobs, Camtasia excels when your video demands more talent, imagination, and skill.
With Camtasia's many editing options, you can give your videos a more professional appearance and feed, regardless of whether you're doing a live broadcast or a presentation. But fear not; despite offering many sophisticated editing capabilities, Camtasia's user-friendly interface was created with novices in mind.
This implies that more sophisticated functions are available when needed without adding unnecessary complexity to the interface. Most of the activities are as easy as dragging and dropping, so anybody can use it!
Click the Record button at the Tools Panel's top to begin using Camtasia. The Camtasia Recorder will open as a result. This will be automatically configured to record anything that occurs on your screen, effectively acting as a control center for your audio and screen recordings.
Start by deciding on whatever portion of your screen you wish to capture, just as you would with Snagit.
It may make sense to record your whole desktop in certain situations, but you may also wish to record a particular window or only a tiny section. This is useful when displaying just the steps required to use a specific software program or the locations of website clicks.
Remember to clear your desktop and turn off your alerts if you're filming in full-screen mode to ensure that nothing irritating or undesired appears in your video.
Similar to Snagit, Camtasia enables simultaneous screen and audio recording.
Writing a screenplay, or at least some talking points, is an excellent approach to ensure you cover all the essential material and remain on the topic if you want to narrate your recording.
When you're ready to record, choose the microphone you want to use and if you wish to capture the system sounds on your Mac.
A professional and polished appearance for your video can be achieved with only a few quick steps and basic editing knowledge with the built-in video editor in Camtasia.
First, use the Playhead to pick any errors and then click Cut to remove them. Just drag the end of the clip in to remove any extraneous video from the ends of your recording.
After organizing your material, you may begin incorporating more effects.
Exporting and sharing your video to your chosen hosting service is the last step. Using Camtasia, you can quickly download the video clip locally on your Mac or share it on a website like Vimeo, YouTube, or Screencast.
You may download a free trial of Camtasia here to get a sense of how it works without entering your payment card information.
Screen recording on a Mac is much easier than most people think. With just a few clicks, you can capture tutorials, meetings, presentations, or anything else on your screen. This guide covered four of the best methods to record screen on a Mac.
Each option is simple to use and fits different needs, whether you want something quick or more professional. Now that you know the tools and how they work, you are all set to start recording with much hassle. For more easy-to-follow tech guides, tips, and tutorials, keep exploring the blog section at Mtoag Technologies.
With Snagit and Camtasia, you can easily record your screen and audio either simultaneously or separately. Just follow the steps above for perfect audio every time!
With Snagit and Camtasia, there is no limit to how long you can record your screen. However, we recommend recording for no longer than an hour at a time to avoid taking up too much space on your hard drive.
There are many Capture app lets you quickly and easily record your iPhone screen.
To record both your screen and your webcam footage on Mac, simply toggle the Record Webcam option in Snagit or Camtasia to create a Picture-in-Picture video.
To record your screen and your computer’s audio, select the Record System Audio option in Snagit or Camtasia.


AI
Wix is undoubtedly one of the best website builders out here today. Although this no-code website builder is greatly appreciated for its ease of use and drag-and-drop editor, some flaws in the platform still insist people to search for the best Wix alternatives. So, if you’re using or about to choose Wix for your next […]

AI
With the increasing prevalence of artificial intelligence (AI) across different industries, the technology evolution is at its peak. The popularity of large language models (LLMs) seems to be stabilizing, and new concepts and ideas are set to replace them with state-of-the-art technologies like large action models (LAMs). What actually are Large action models? Are they […]

AI
Artificial intelligence (AI) took no time to evolve from being a mere buzzword to mainstream technology that addresses contemporary needs. Today, who doesn’t know about ChatGPT? The AI trendsetter since its first release in late 2022, especially in terms of content creation. However, we have witnessed countless AI writing tools entering the market following ChatGPT’s […]
Successful Projects
Years in Business
Happy Customers
We have been working with Mtoag Technologies for the past 5 years. They have been a very responsible team from the beginning. They are quick at responding, available whenever we need, and are extremely supportive when there’s a high-priority fix. All-inclusive, IAD can be your best bet for app development.